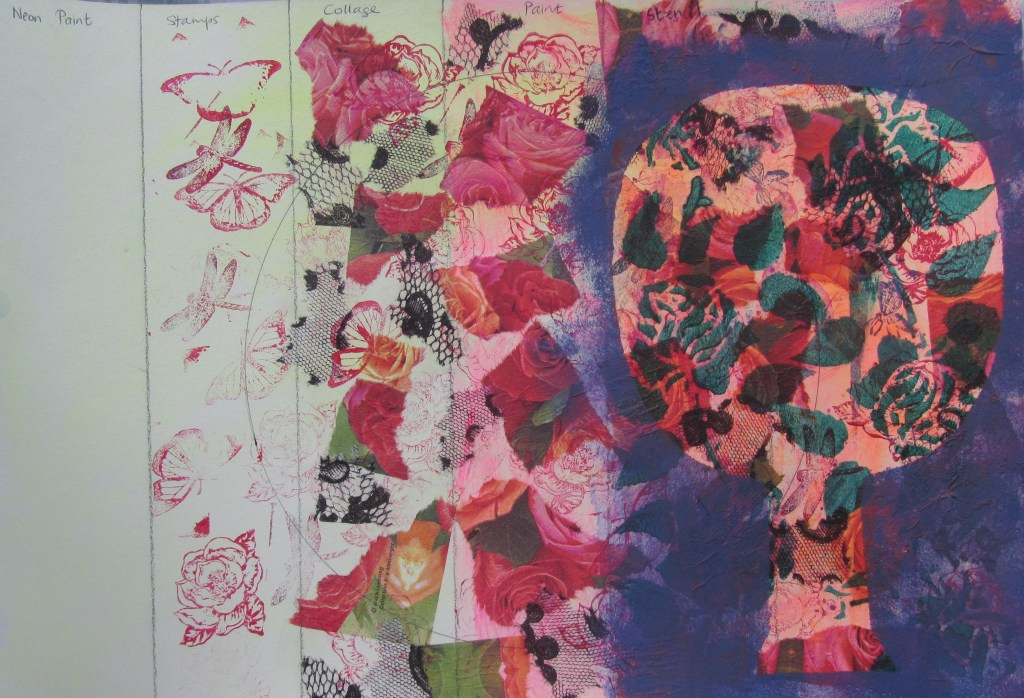
To recap from my post last week, when I layer I start with the lightest or luminous shades first to that the light shades glow through. Neon colours work well: Yellows give it a warm feel whereas light blues will give it a cooler affect. In this image below I have tried to depict how each layer contributes to the final image, starting from the left to right each graduation is another layer. Each column labeled at the top shows what I did in the process.
Expanding the basic layering technique
Questions of an artistic kind
The next day, after the workshop, I began to brainstorm many options and became saturated with questions and ideas such as:
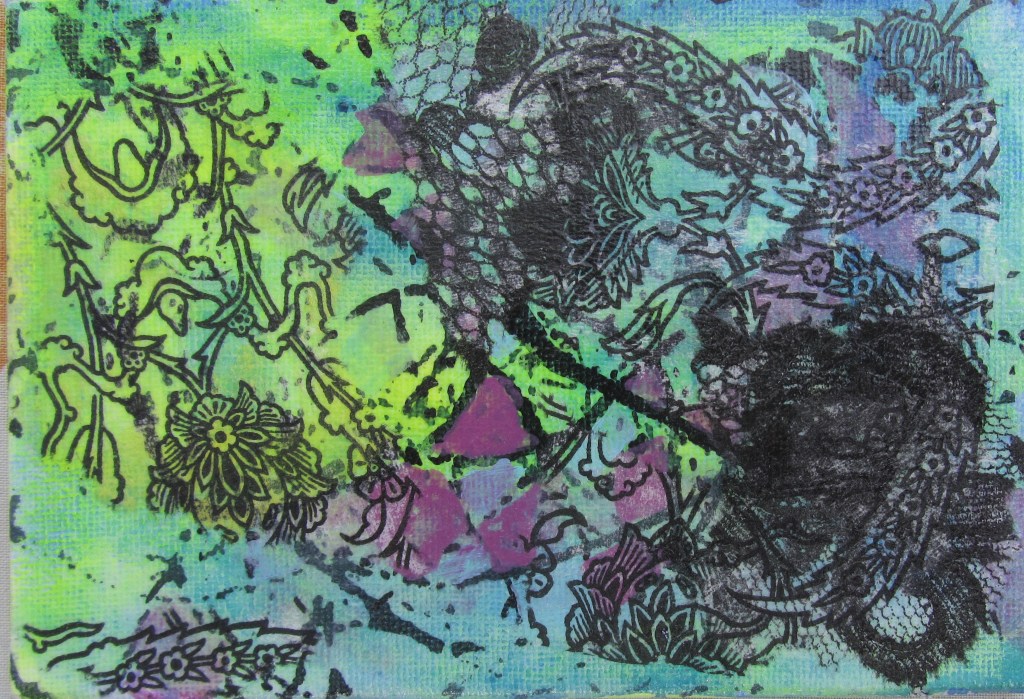
What if I create a marbled look using string dipped in black ink as one of my layers? This one I kept abstract. What image do you see?
What if I drew my own paisley design to collage onto my canvas for textures?
What if I add string and serviette textures and then look for an image afterwards? (It’s like when one looks for images in clouds.) And lastly to consolidate and enhance the image so that it stands out I added dry glitter and glue glitter. This made the butterfly pop out.

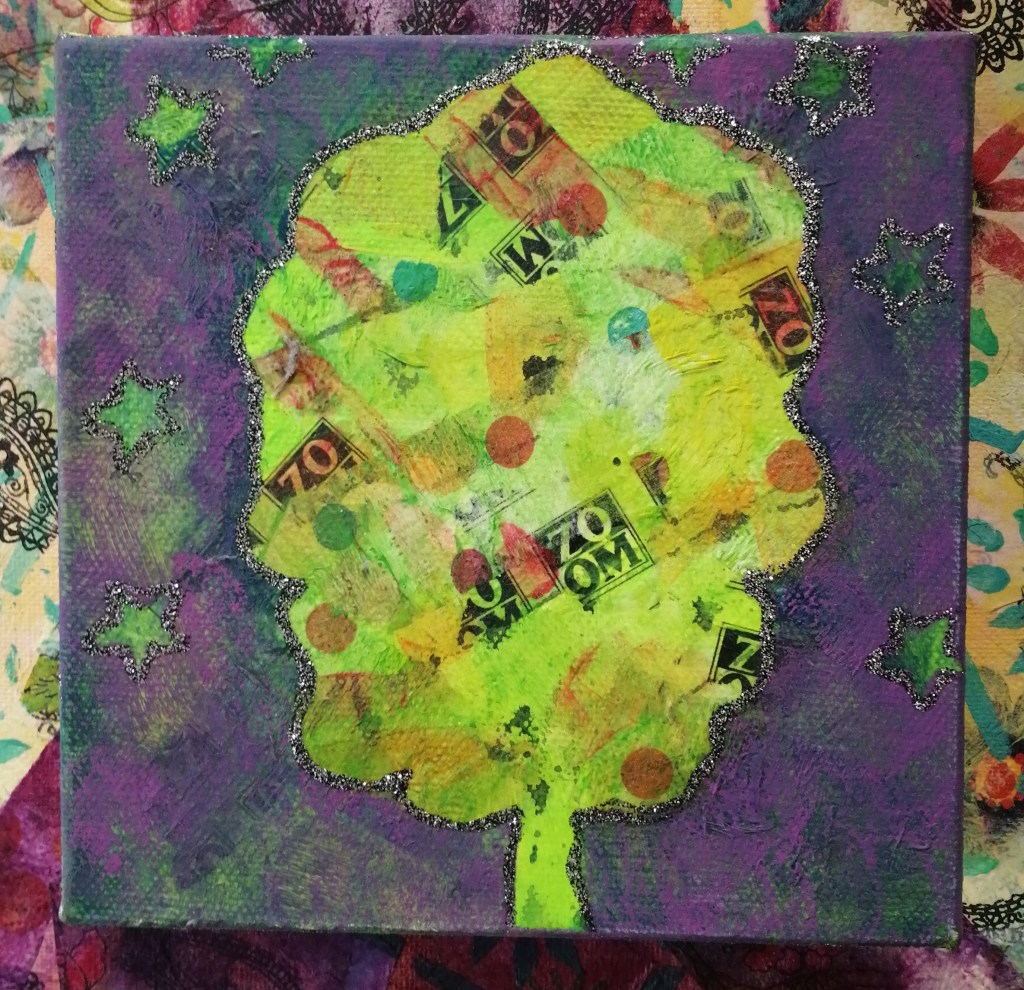
What if I texture with a mixture of recycled paper and serviettes, then stick stars on as a stencil and sponge over a template to create a negative design? This one you have seen before in The Artist’s Journey: the layering technique.
And so that day become my artists ‘play’ date. I had the freedom to try out all my ideas. It is good to try out even the ‘silly’ ideas because that is how one learns: what works, what doesn’t and how to create something new out of mistakes. The more you try the more you experienced you get and the more you know how to achieve what you ultimately want.
Final images.
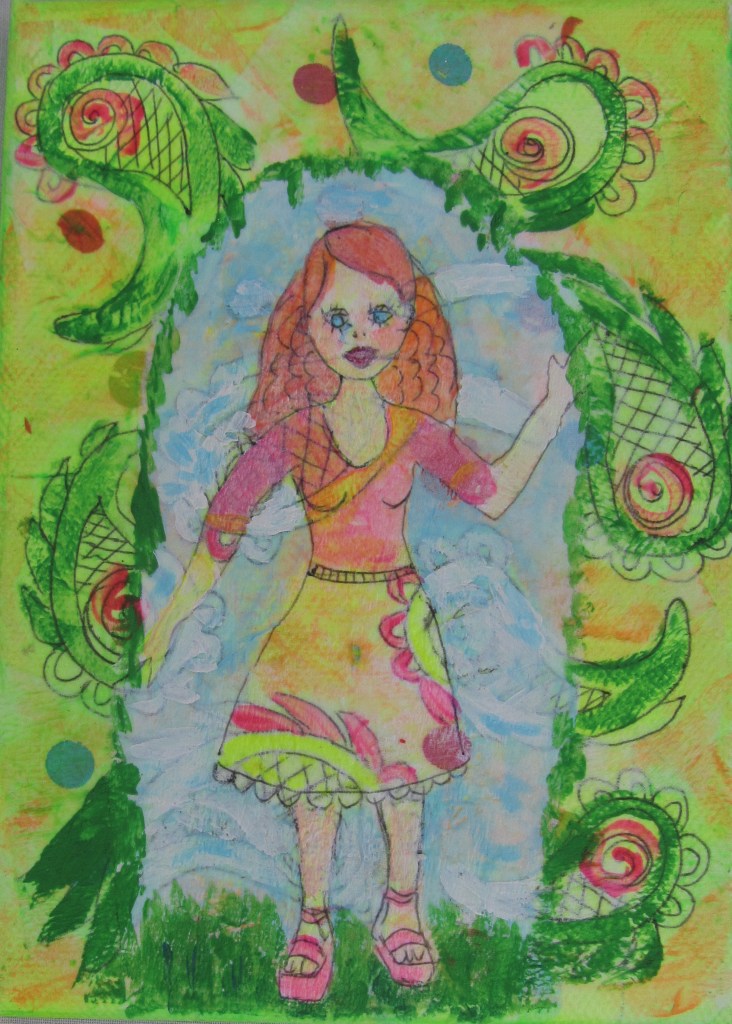
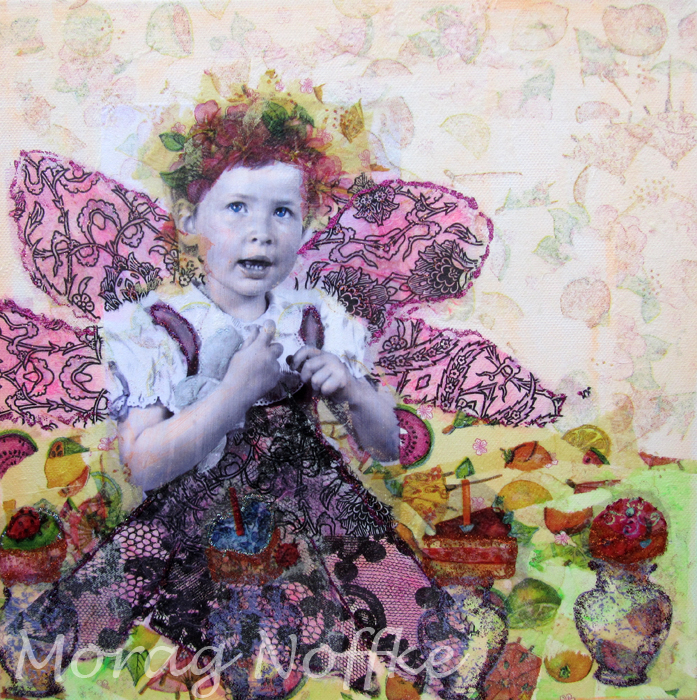
Once I became confident in handling the materials for the layering technique: the podge, serviettes and paints, I finally tried adding a photograph into the creative mix. I don’t know how you like to work, but I like to have a ‘loose’ plan and at the same I like to give the image lots of scope in order for it to emerge according to impulse and whim.
What I mean by this is: I had the canvas, the photo, the serviette pieces and some of my favorite colours. In my mind’s eye I was going to give the little girl long curly hair (like mine at the time) by using the black and white stylized design. As I tore the pieces I dropped them onto my photo and a thought slowly emerged: “It looks like fairly wings. I like all things winged and fairy-like, including insects, so I will make her into a fairy“. There was my inspiration. Often my creations are as much a surprise to myself as others. This is what I call the ‘playful’ process and I find it fun. I do believe in fairies, I do, I do.
You might be wondering what is going on in this next piece of art. I say “the meaning is in the eye of the beholder“. Go ahead, and see what you come up with. This is an example of me taking a technique further and further. I use collage for working with concepts that are fresh in my mind. Here the concepts are Past, Present and Future…life is a journey from beginning to end.

If you want to try this process please keep in mind that it is a journey and process and you should try to throw yourself totally into it. Try to live in the moment, feel the feelings, whether it is the joy of creating or the frustration of the challenge of creating a new and valuable image out of items that are mundane. The destination then becomes incidental and a surprise: sometimes lovely, sometimes not. Enjoy playing within the process. In creativity you have your materials, inspiration, incubation of an idea, intuition to know when to take advantage of mistakes and surprise elements and the conviction to make bold choices and when to stop.
I am holding an event in the forest soon where we will have a meditative morning with these concepts and more. You can follow along from wherever you are in the world if you want to try it. I will give you more information over the weeks.
Take care, till next time.


So inspiring! I love your artworks! xxx
LikeLiked by 1 person
Awwwe thank you 🙏🌹
LikeLike
So many “what if’s” ☺️ … I am totally amazed at how many different forms of artwork you can create by just changing your technique slightly.
I love your fairy girl (yes, it’s definitely wings behind her) – that’s a beautiful image 🌸.
LikeLiked by 1 person
Thank you, my fairy girl is one of my favorites too😘💖🌷
LikeLiked by 1 person
Wow! Amazing work! My favourites, Forest Girl, and oddly, I really love the first image showing the process. 💐🙏
LikeLiked by 1 person
Thank you, it’s always interesting to see how different people like different art pieces. 👍😊🌷
LikeLiked by 1 person
Your artwork is amazing!!!!! I love each piece; I’m especially drawn to the fairy one! 💕💜 Thanks for sharing and letting us see inside your art process. Textures and layers really add to art on a whole other level!
LikeLiked by 1 person
You are welcome 🌷😀
LikeLiked by 1 person
Amazing creativity, Morag! You are more flexible in your experimentation than I ever was. But that is one reason you are so talented. ai get frustrated when my first effort doesn’t turn out like I wanted it to. Thanks for the explanations as you went though. It made it easier to understand what you were doing.
LikeLiked by 1 person
You are welcome, and thank you for visiting.
LikeLike
Beautiful, creative paintings!!!
LikeLiked by 1 person
Thank you 😀🌹
LikeLike
I really like that first purple and green picture. The black lines of the tissue paper really pull it all together.
LikeLiked by 1 person
Thank you, it’s always interesting how different people are drawn to different images or forms of art. 🌷🌷
LikeLiked by 1 person
Pingback: Friday Studio: The Last of my Layering Projects in 2012 | Morag Noffke