Layering: My Hands and Heart.
Last time I mentioned that artists use layering. Today is just one example. This layering technique uses collage (pasting), painting, stencilling, and stamping and it is fun for all levels of compitence, even children could get involved. I find it important to fill my ‘creative well’ by experimenting with different art techniques regularly; it keeps my creativity alive. After five happy hours of sticking, painting, stamping and stencilling My Hands appeared. Soon after that I created the heart and then I experimented further with the tree.
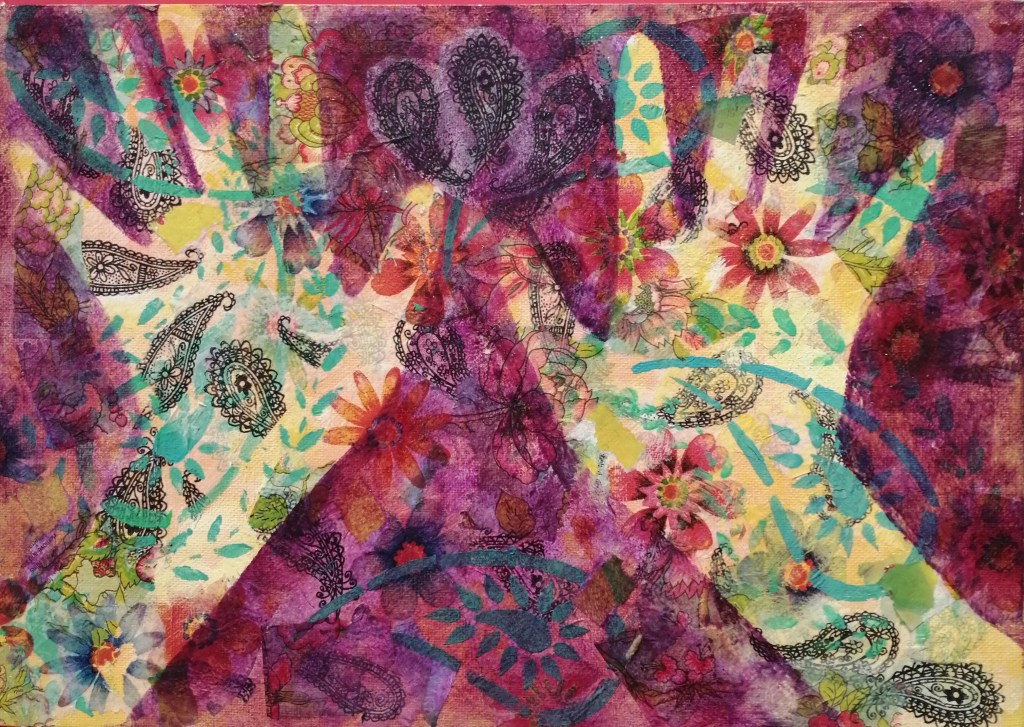
Happy hands, healing hands,
caring hands, reaching out;
lifting hands, holding hands;
Joyful clapping hands;
cold and warm hands;
wringing hands,
ordinary hands,
delicate hands,
strong hands,
young hands,
old hands:
hands belonging to all of us
linking us together
or push us apart.
I am held
in the Hand
and you are too.
That makes me smile.
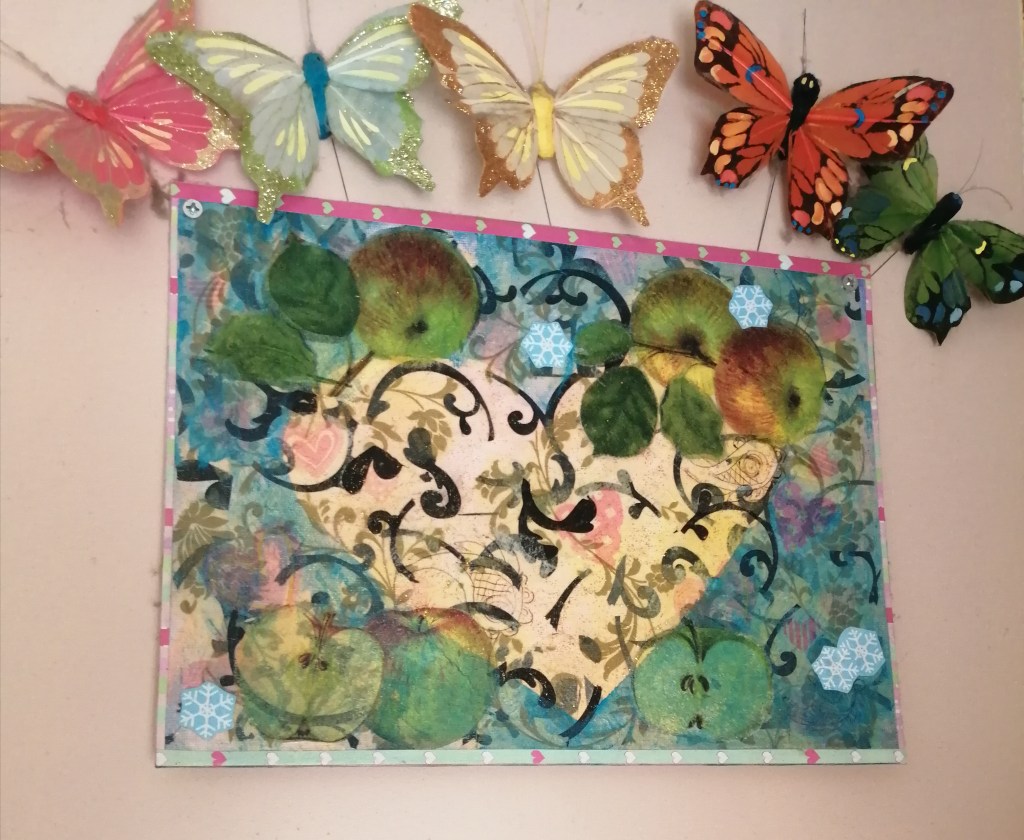
Warm Heart, mixed media layering technique, 2012, M Noffke. 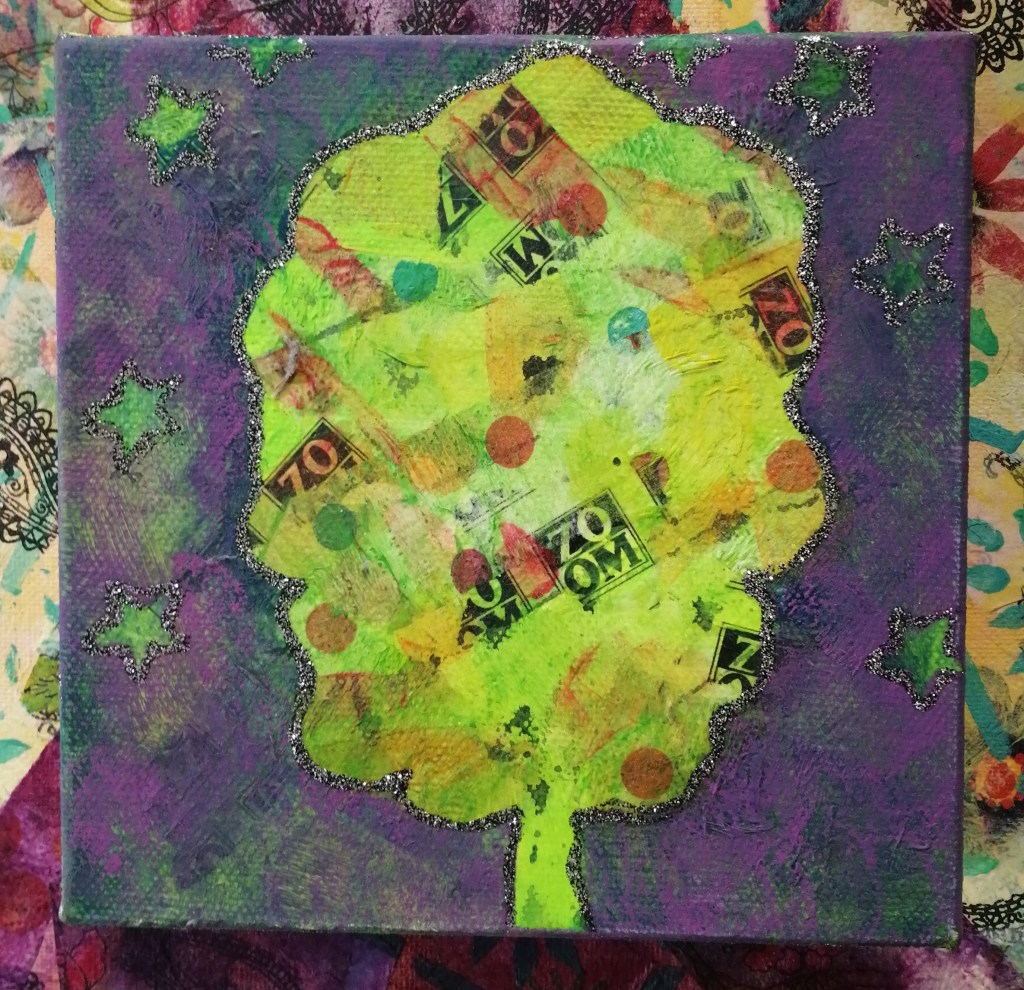
Experimental Tree, mixed media layering technique, M Noffke, 2012.
Layered Technique Explained.
This technique consists of layers of paint and collaging (pasting) serviettes for texture and using stamps, and stencils. Here is how I did it:
- The first layer on the canvas is light luminous (I used yellow),
- then choose patterned paper serviettes which pasted over in a random torn pattern. Separate the two back layers of paper the paper serviette so that you are left with the top layer only. This creates the translucent effect.
- I used podge to stick my layers down. First paint the podge over the canvas, then place the torn pieces down and paint over it again carefully and gently with more podge. (You can also use translucent/clear glue.)
- When this layer is dry continue layering different chosen patterned serviettes or use stamps and stencils instead. Always wait till the layer is dry before starting the next layer for best results. You can use a hairdryer to speed up the process.
- You need to decide how many layers looks best for the individual art project; (three and upwards is my suggestion.)
- Last dark layer: when a dark colour is used, remember to reserve it for last layer which will create the final image. Use the colour carefully otherwise you won’t get a very nice effect because the dark colours conceals all other colours and patterns. I used the dark colour last to create the image of the hands or heart or tree. You can see that it conceals the patterning where I didn’t want it to show and thereby creating the desired image. I created the final image by making a simple stencil of my hand or heart or tree out of newspaper and painted over. Warm Heart had some butterflies attached to the top and snowflakes added from wrapping paper. And I added glitter glue to emphasize Experimental Tree and the stars.
I felt it was a fun, playful, serendipitous way of creating depth and textures. I used my incidental learning which I used for following art and image making. Next time I will show you how I incorporated it into collages and a more detailed image. Have you or would you try this technique?
Take care and have a wonderful weekend.


Your ‘Hands’ image is one of my all time favorites Morag…!
And Im so blessed to have had private lessons with you on this technique! 🙂
LikeLiked by 2 people
Thank you so much 😀
LikeLike
Great! Your post is making me smile, your work is wonderful! 🖐🖐🙏
LikeLiked by 2 people
Awwwe thank you Ashley, that makes me smile too 😀🙏
LikeLiked by 1 person
That is something “out of this world” – really beautiful 🌻.
I have never tried something like this before … and if I ever do, I will first have to come for a practical lesson – you are just so creative!
LikeLiked by 2 people
Oooooo that would be fun to have you in my class
LikeLiked by 1 person
I’ll let you know … it will have to be a full day with lots of tea breaks in-between 😉.
LikeLiked by 1 person
Sounds perfect
LikeLiked by 1 person
We could have a braai for lunch 😋😍
LikeLiked by 1 person
Now you’re talking 🔥😁
LikeLiked by 1 person
I wish that you lived nearby so that we could do lovely creative things like this together again. If I am not misremembering I was also doing some layering with you when you were making one of these. 🙂
LikeLiked by 2 people
Yes you did!
LikeLiked by 1 person
Oops I meant to add maybe we should do something on zoom. 😜
LikeLike
You are so creative, I love the poem about the hands and I especially love, love the hearts reflected in your art work ❤
LikeLiked by 1 person
Oh thank you so much 😀❤️💖💕
LikeLiked by 1 person
Very interesting!
LikeLiked by 1 person
🌷🙏
LikeLike
Inspiring work!
LikeLiked by 1 person
Thank you, I hope it will inspire others 😊
LikeLiked by 1 person
It has already inspired me!!!! Thank you!
LikeLiked by 1 person
I am so happy to hear that 💐👍
LikeLiked by 1 person
Pingback: Friday Studio: A Face Layered in Kind | Morag Noffke
Pingback: Friday Studio: The Last of my Layering Projects in 2012 | Morag Noffke